In Part 1 of our ULTIMATE GUIDE Veggie Gardening, we explain how to prepare your garden.
Now, in Part 2, we move on to planting. Exciting, isn't it?
When was the last time you got to dig in the dirt? Well, here is your chance!
Seedlings vs. Seeds #
There are pros and cons when deciding whether to plant seeds or seedlings.
Seeds are cheaper, but they need small containers and soil to get them germinating. You can use what you have on hand for containers, yogurt cups or milk cartons with drainage holes punched into them are suitable. Or use biodegradable peat pots which don't have to be removed for planting, keeping delicate seedling roots well protected.
I prefer trays made especially for seed starting, as they are convenient and I have had a higher rate of success. We got ours online and they were about €10 for 120 slots, but any garden shop should carry them as well.
When you have your trays and have inserted the dirt plugs, read the seed packets to determine whether you should put one or several seeds into each plug, and whether they need to be sprinkled on top or buried. It’s different depending on what you are growing. Moisten the newly planted seeds and keep them warm (indoors is best at first) in a well-lit spot until you start seeing them pop up.
Once you see them sprout, you will need to slowly transition them from the protected indoor environment they are used to, to the less predictable outdoors. To do so, put the seedlings outside for a few hours every day and bring them in at night for about a week. This process is called “hardening off”. It produces a higher success rate than just planting directly from the indoors.
Store-bought seedlings are more expensive, but you have an almost guaranteed winner if you go this route and it's seriously less labour intensive. You can choose the healthiest looking plants, and then all you have to do is plant them properly to keep them going.

Planting #
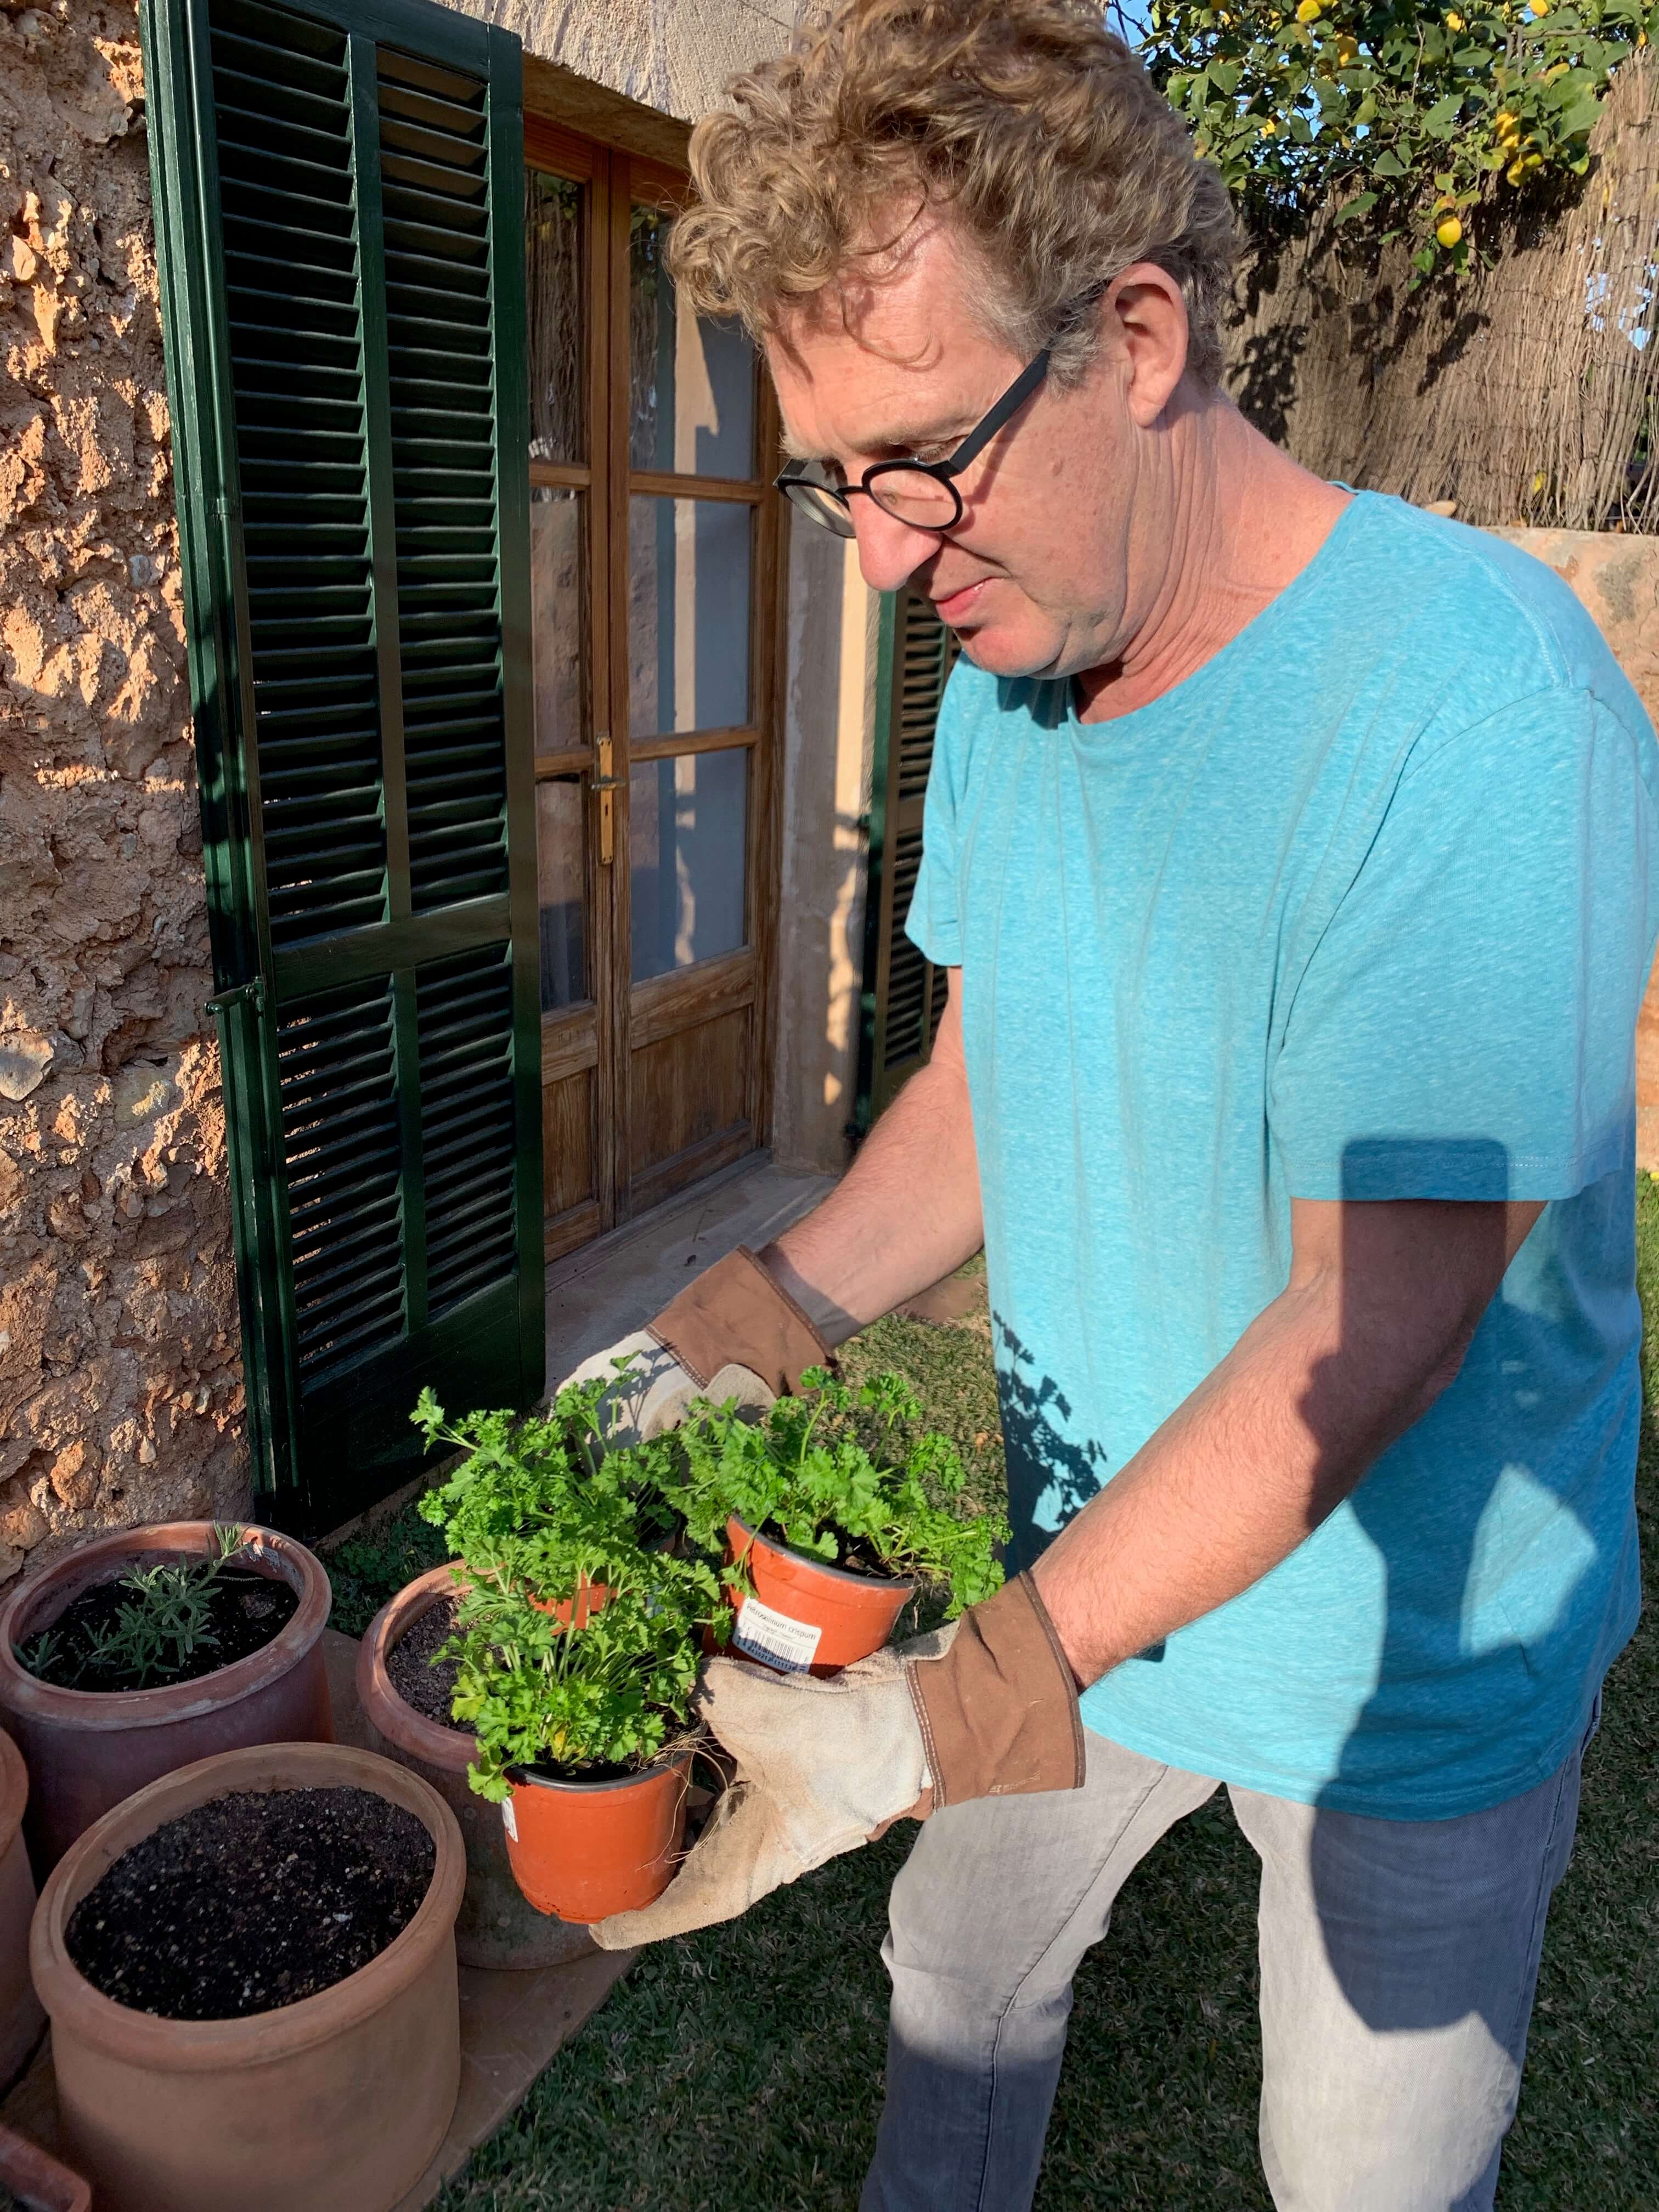
As you’ll have already prepared your beds, the next part is the fun bit! You get to transfer the seedlings to their new homes.
You will need to work out the spacing, as some plants are climbers (tomatoes) and some are creepers (courgettes). You don’t want to overcrowd your garden, and you don’t want certain of your plants to fail because they didn’t play well with their neighbours. This only takes a few minutes of your time as most of this info is readily available online.
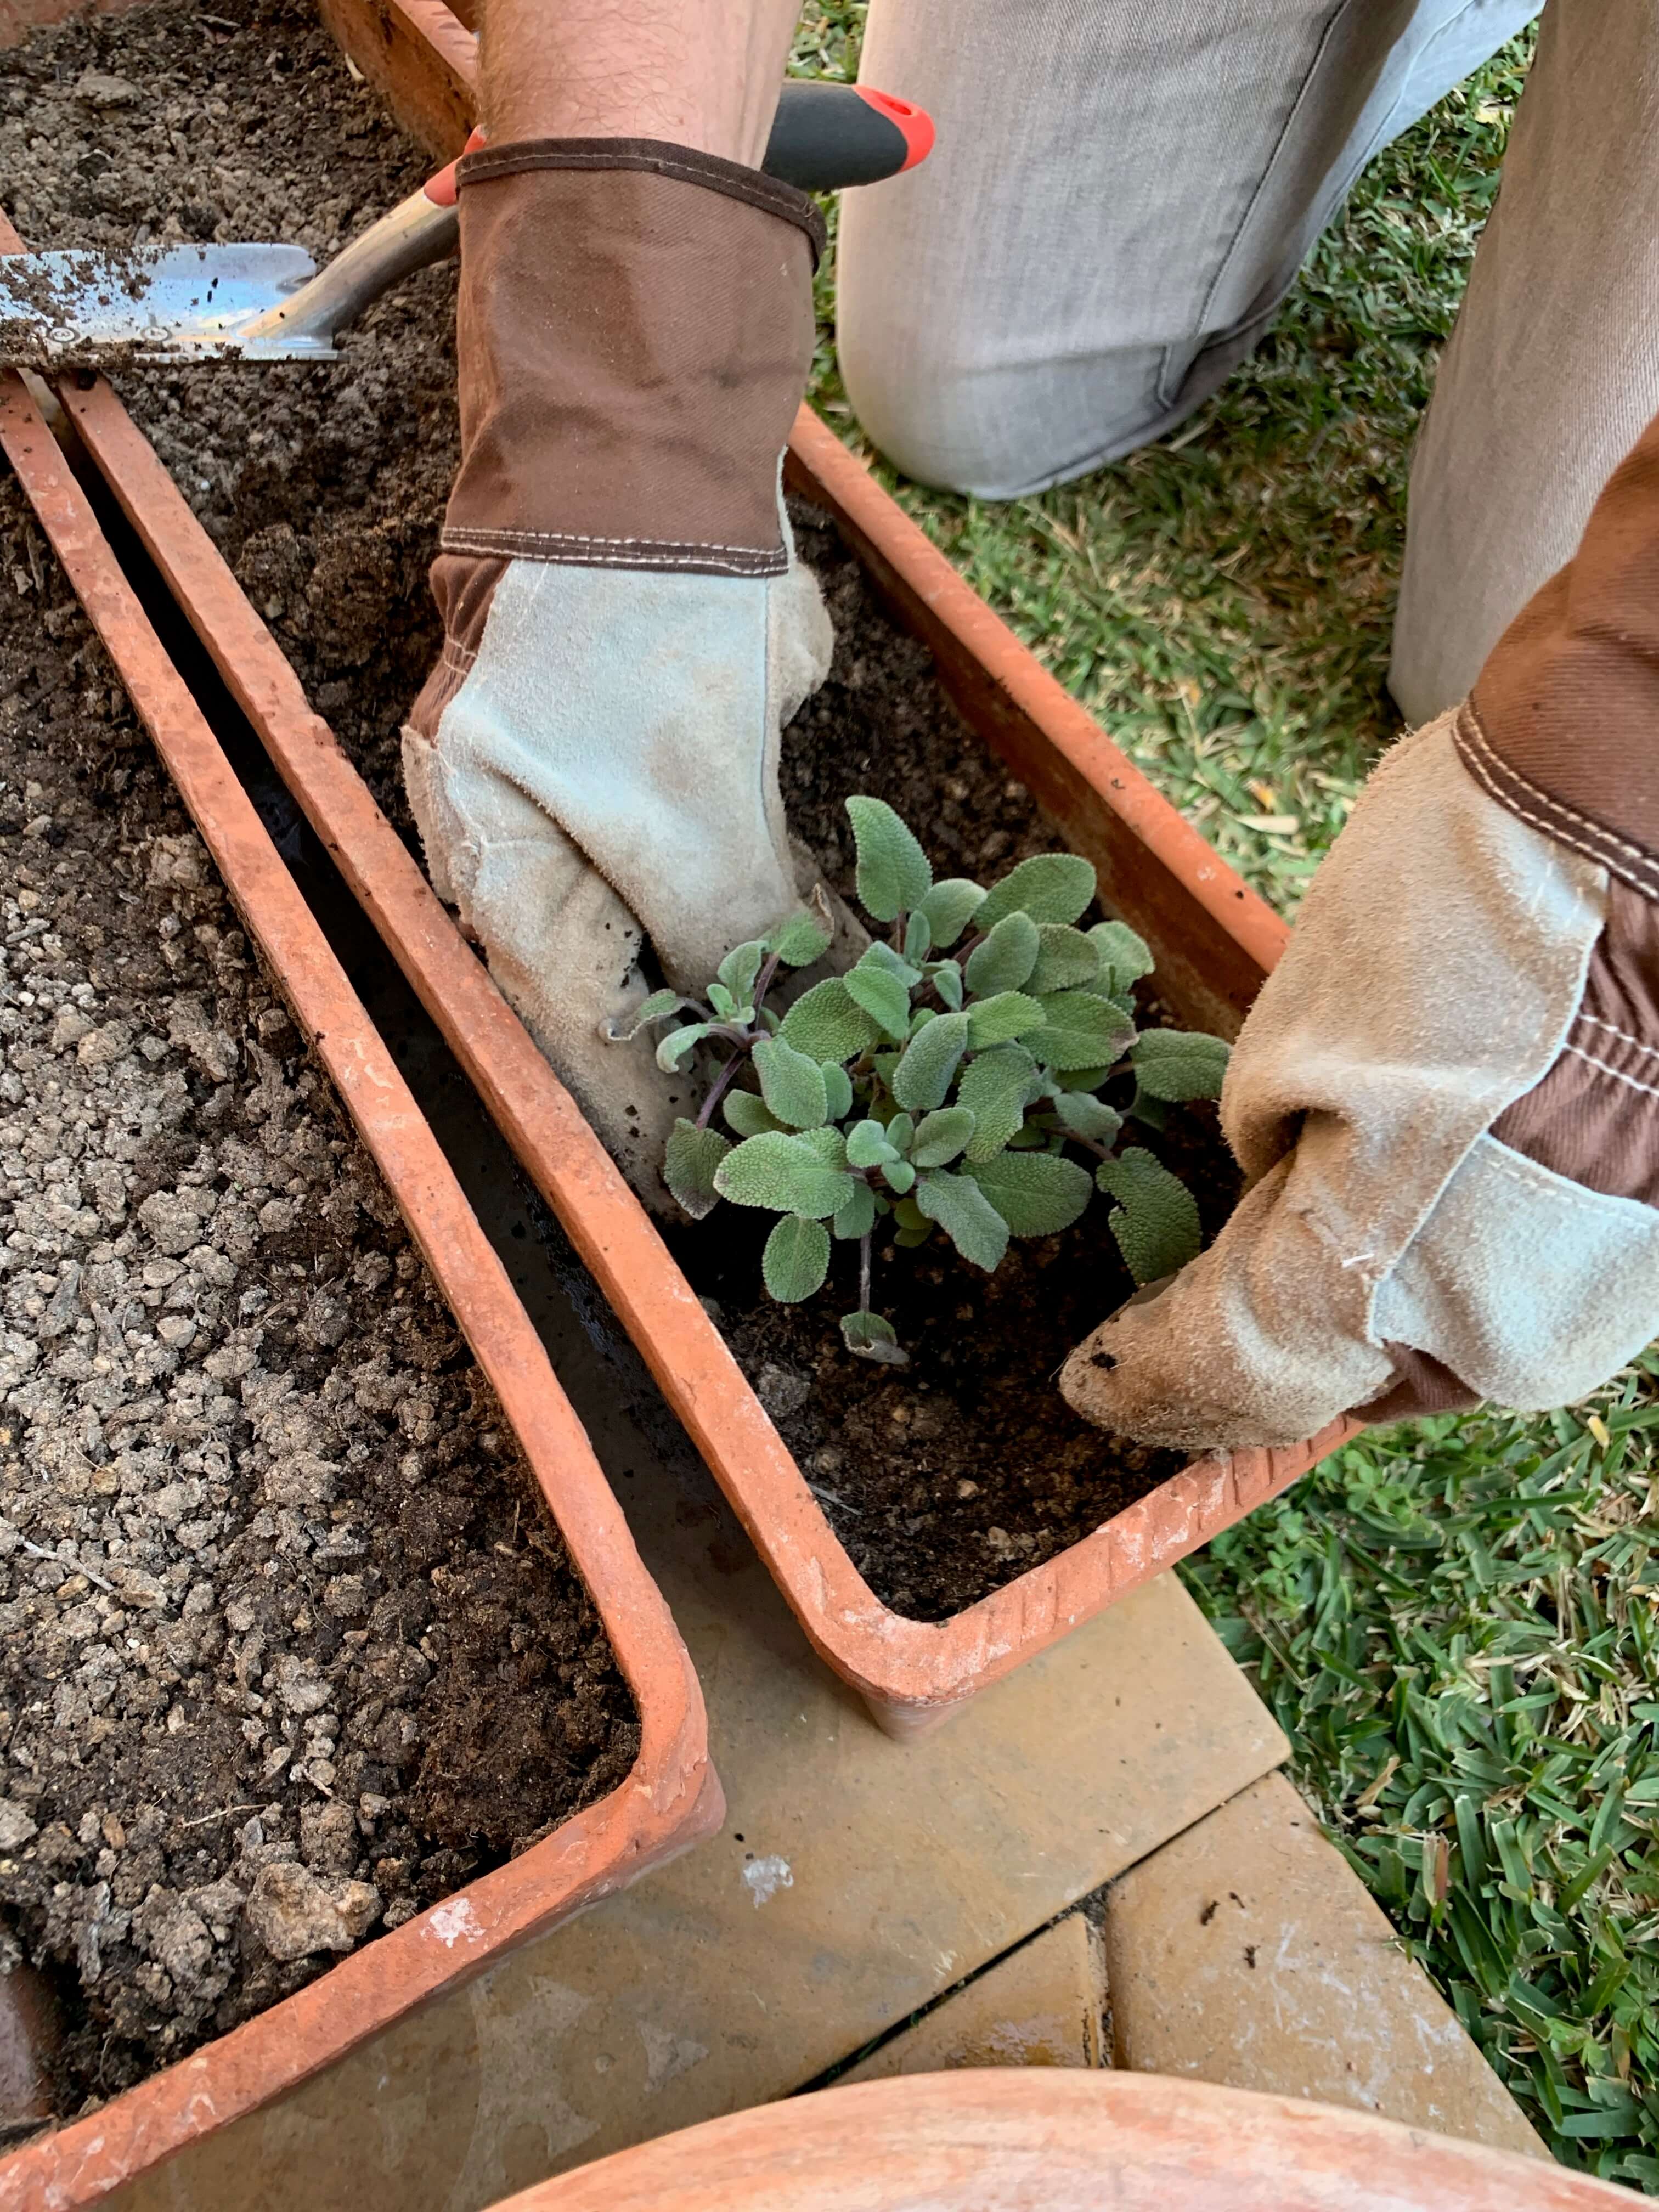
I recommend laying all of your seedlings out where you’d like them to be, and step back and take a look, making sure it isn’t too crowded. But before you can lay them out, you need to remove them from their trays (unless you use the biodegradable peat ones described above). As many of your seedlings will have multiple growths (salads for example), you will need to gently separate them as well as possible without dramatically ripping apart the root system. Some roots will break, it's normal, and not a problem, just try not to manhandle them too much. Also, it's not the end of the world if two or three remain clumped together and are planted that way.

Now that they are all arranged where you’d like them to be, start digging! General rule of thumb is to dig the hole 1.5x the size of the plant. After you’ve got the hole ready, place your plant in and give it a good sprinkling of water. Repeat this until all your seedlings are in the ground. Remember to regularly water! And now, go get that well-earned cup of tea, sit back, and enjoy your handiwork! Your friends will be so impressed!
Our next article will focus on what happens during growing season. Our tips will help you keep your plants healthy until they’re ready for harvest.


By Stephanie Horsman
11 February, 2021